A diversion - A raycast engine built in C#
This guide has the intention of extending the drawing logic in the well trod http://lodev.org/cgtutor/raycasting.html ray casting tutorial written in C++, and programmed by Lode Vandevenne. I take no credit for doing anything much, the logic is ripped straight out of his tutorial (literally copied and pasted, it is written in C++ and I am using C#), but if you have a basic understanding of matrix mathematics you should follow what he is doing quite easily and would be able to produce something similar but your own. My aim here is to provide a crash course guide on how this tutorial can be translated to modern drawing methods. Please note I intend this to be a living document to some extent, and hope to update, extend and correct. So you may be seeing it in an early state.
The Lode Vandevenne tutorial is very old now, 20 years in fact at the time this is written (although there has been a 2017 update to his tutorial series!). Since then, of course, methods of drawing textures on screen have changed. Many owners of personal computers now have dedicated graphics cards with enormous memory and processing capabilities compared to what was available then. So to start, how was it done 20 years ago?
I wasn't introduced to game programming at the time, but the method in the tutorial is pretty straightforward to understand. A pixel buffer is maintained, that determines what colour each pixel on the screen should be. Raw colours can be written to any pixel in the buffer, or alternatively a texture can provide this value instead.
If your familiar with programming 2D games using sprites with current technology, you will likely be dealing with sprite maps, which in terms of files are simply large textures that are comprised of a number of other textures that are likely to be drawn together on screen at any given time. Then, by some means within your programming environment, whether you deal directly with it or not, this is mapped to a rectangle space which defines what part of the texture map to draw at a given time.
In short terms this allows a big texture to be uploaded to our nice new graphics card that has tons of dedicated memory that can be accessed really fast by our GPU. We then just define what part of the texture we want to draw with a rectangle, and can use this to produce a whole world from just one texture sheet.
So, in order to translate the methods used in the aforementioned tutorial, we need to be thinking in terms of rectangles. No longer do we want to be regarding pixels and how to manipulate them, we want to think about rectangles and how we can manipulate them to produce the same affect. To do this we can start by slicing the entire view into slices of 1 pixel, going horizontally across the screen. This gives us "stripes" we can use to display something on screen (a sprite basically). This alone, is enough to begin drawing a visible 3D world using the tutorial code, we can just put any tint or an arbitrary texture and we will see something. Just to be clear here is an image I have drawn drawn slices over, but there would be a slice for each pixel going horizontally.

However, next we would like to see a more interesting world, with textures displayed correctly for each wall slice. How do we do this? More slices of course.
We can also load a texture, then assign a rectangle for each pixel width slice. With these slices of a texture, we can then produce a data structure that holds both our current view slice, and a current texture slice to draw in that slice, which can then be scaled to produce a sprite that acts as part of a wall and when combined with all the view slices produces an image that appears to extend into the distance.

This has a nice affect compared to the old technique which manipulated individual pixels, in that colours blend across the y axis due to the fact you are essentially scaling a thin sprite. From a distance it seems, at least to me, to produce a more pleasing affect, though up close may be less desirable. The following screenshots demonstrates this affect.
Normal view, I have tried to prevent the player from seeing very close to walls and this as as close as you can get:-

But if I zoom in:-

You hopefully can see very clear banding where the pixels are blended vertically, but not horizontally. I haven't tried to test it but I think this probably gives a more pleasing appearance from farther away.
And that's about the only difference from the original tutorial code, with some OOP to put it into neat C# classes for the MonoGame framework.
Code can be found at :-
https://github.com/Owlzy/OwlRaycastEngine
And a video :-
The Lode Vandevenne tutorial is very old now, 20 years in fact at the time this is written (although there has been a 2017 update to his tutorial series!). Since then, of course, methods of drawing textures on screen have changed. Many owners of personal computers now have dedicated graphics cards with enormous memory and processing capabilities compared to what was available then. So to start, how was it done 20 years ago?
I wasn't introduced to game programming at the time, but the method in the tutorial is pretty straightforward to understand. A pixel buffer is maintained, that determines what colour each pixel on the screen should be. Raw colours can be written to any pixel in the buffer, or alternatively a texture can provide this value instead.
If your familiar with programming 2D games using sprites with current technology, you will likely be dealing with sprite maps, which in terms of files are simply large textures that are comprised of a number of other textures that are likely to be drawn together on screen at any given time. Then, by some means within your programming environment, whether you deal directly with it or not, this is mapped to a rectangle space which defines what part of the texture map to draw at a given time.
In short terms this allows a big texture to be uploaded to our nice new graphics card that has tons of dedicated memory that can be accessed really fast by our GPU. We then just define what part of the texture we want to draw with a rectangle, and can use this to produce a whole world from just one texture sheet.
So, in order to translate the methods used in the aforementioned tutorial, we need to be thinking in terms of rectangles. No longer do we want to be regarding pixels and how to manipulate them, we want to think about rectangles and how we can manipulate them to produce the same affect. To do this we can start by slicing the entire view into slices of 1 pixel, going horizontally across the screen. This gives us "stripes" we can use to display something on screen (a sprite basically). This alone, is enough to begin drawing a visible 3D world using the tutorial code, we can just put any tint or an arbitrary texture and we will see something. Just to be clear here is an image I have drawn drawn slices over, but there would be a slice for each pixel going horizontally.

However, next we would like to see a more interesting world, with textures displayed correctly for each wall slice. How do we do this? More slices of course.
We can also load a texture, then assign a rectangle for each pixel width slice. With these slices of a texture, we can then produce a data structure that holds both our current view slice, and a current texture slice to draw in that slice, which can then be scaled to produce a sprite that acts as part of a wall and when combined with all the view slices produces an image that appears to extend into the distance.

Texture handler class creates rectangles that are 1 pixel wide.
This has a nice affect compared to the old technique which manipulated individual pixels, in that colours blend across the y axis due to the fact you are essentially scaling a thin sprite. From a distance it seems, at least to me, to produce a more pleasing affect, though up close may be less desirable. The following screenshots demonstrates this affect.
Normal view, I have tried to prevent the player from seeing very close to walls and this as as close as you can get:-
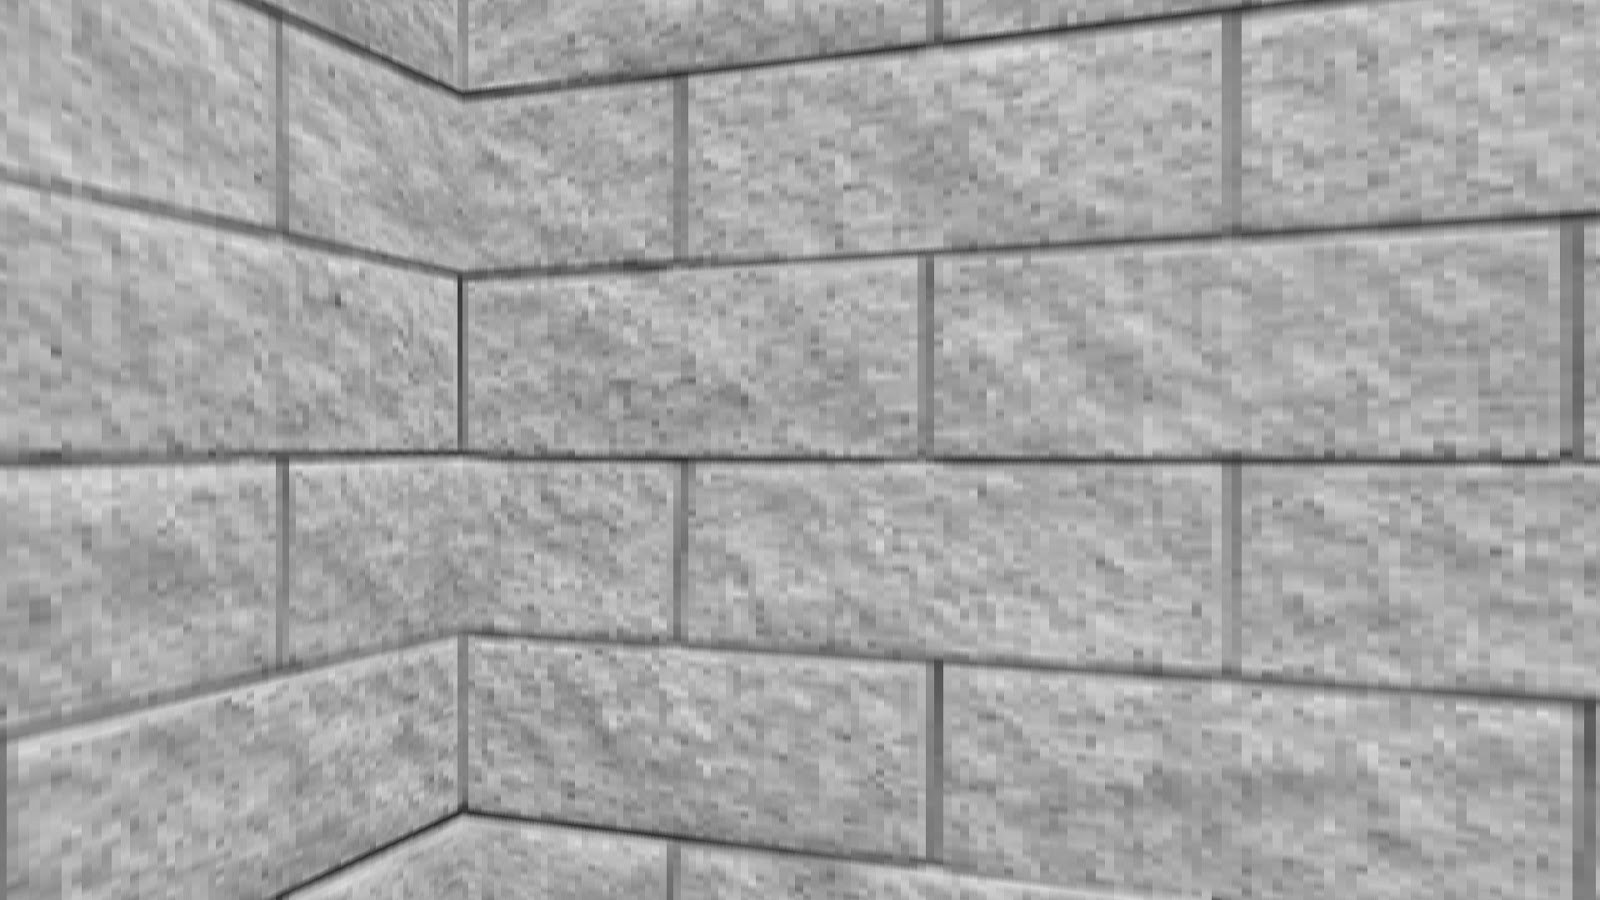
But if I zoom in:-

You hopefully can see very clear banding where the pixels are blended vertically, but not horizontally. I haven't tried to test it but I think this probably gives a more pleasing appearance from farther away.
And that's about the only difference from the original tutorial code, with some OOP to put it into neat C# classes for the MonoGame framework.
Code can be found at :-
https://github.com/Owlzy/OwlRaycastEngine
And a video :-
Comments
Post a Comment